In this short tutorial, Rimantas explains how to switch Stripe Webhook URL from HTTP to HTTPS so that all Webhook calls were encrypted and secured. This is very important and must be done before you start charging clients via Stripe inside Signal Magician.
Open Webhooks section

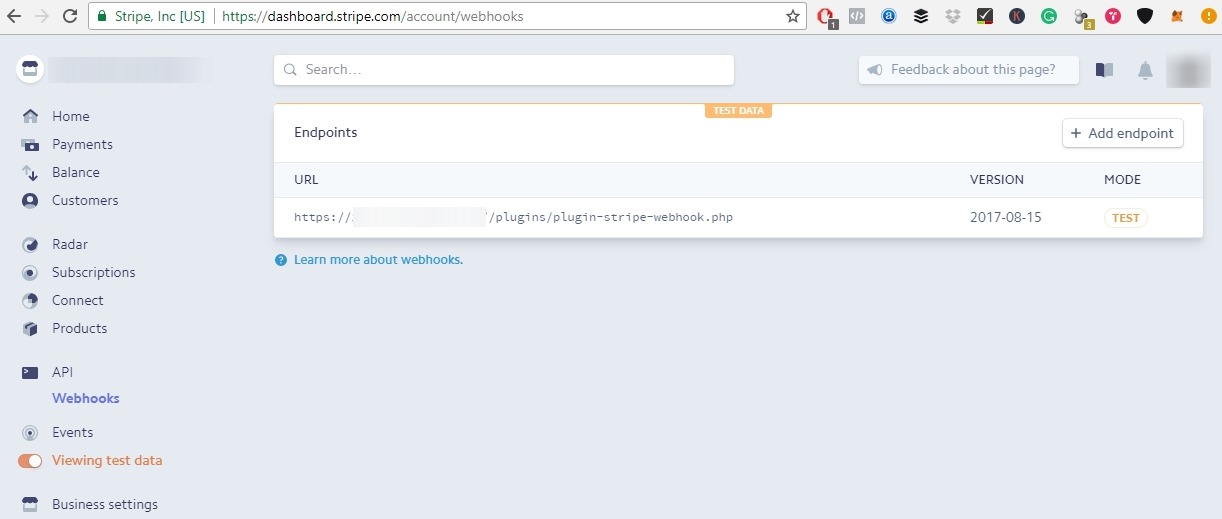
Login to your Stripe dashboard and open the “Webhooks” section. It usually appears next to the API section.
Click on the endpoint URL you have there.
Choose to update Webhook URL

Click “Update details” button on the right.
Edit the Webhook URL
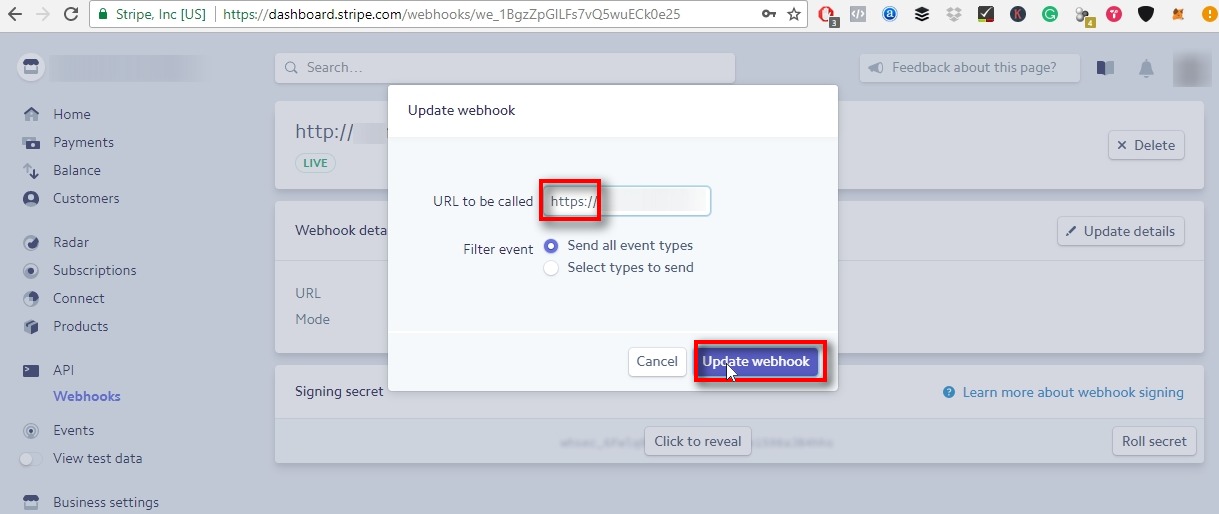
Change your Webhook URL so that it starts with the “https” instead of “http”. In other words, you need to add the letter “s”.
Click the “Update webhook” button to save changes.
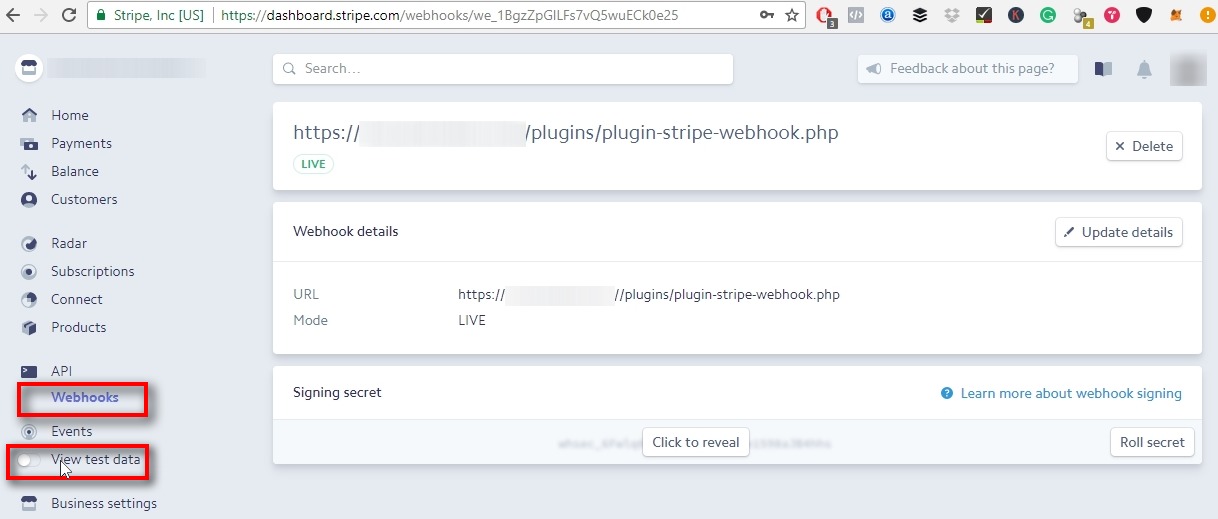
Switch to “test data”
You can see Webhook URL has been updated now and it will be called through the secure HTTPS protocol which uses SSL certificate to encrypt and protect the data.
Next, you need to switch to “test data” and update Webhook URL in there too.
Click on “Webhooks” in the left menu to go to the “Webhooks list and then click the “View test data” on the left menu as well.
Choose Webhook URL

Click on the endpoint URL you have to open its properties page.
Choose to update Webhook URL
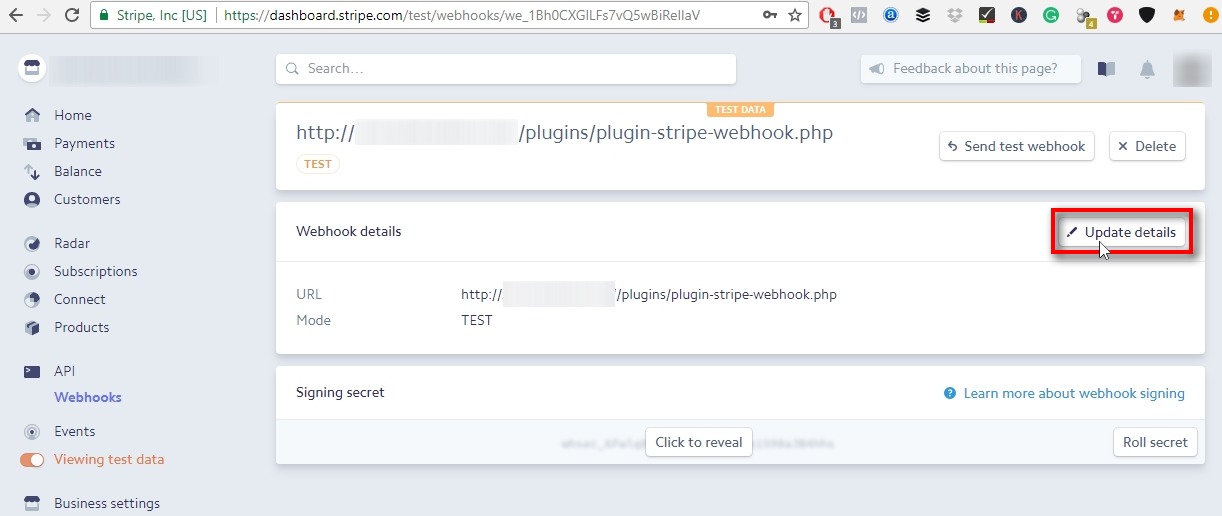
Click “Update details” button on the right.
Edit the Webhook URL
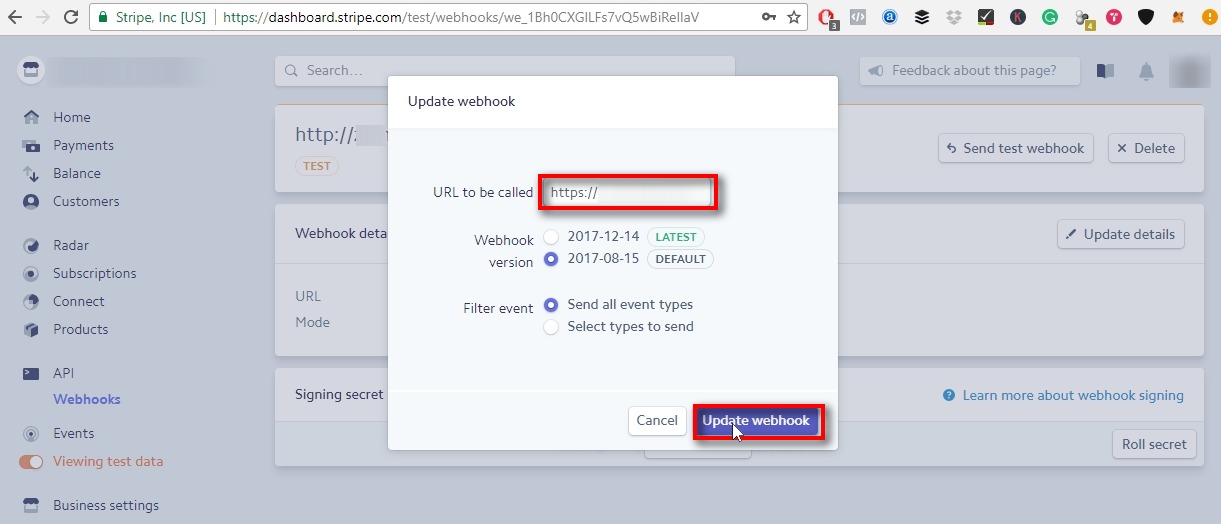
Change your Webhook URL so that it starts with the “https” instead of “http”. In other words, you need to add the letter “s”.
Click the “Update webhook” button to save changes.
Finished
Now both Stripe Webhook URL’s have been changed to work using a secure HTTPS protocol.
You can start using Stripe to charge your customers now.